DIY: Easy No-Sew Cushion Slipcover
I hate to sew and if you’re here, I know you do too!

I wanted to makeover a used glider chair we purchased, but of course, I did not want to buy a slipcover because I thought, how hard could it possibly be to make one?
The answer, not at all.
Of course, I can sew minor rips that are like one inch long, but beyond that, I’d rather not. For a slipcover, I knew I was definitely not going to be doing any sewing so I turned to what I love using in lieu of actual sewing; Iron-on adhesive!
I’ve used it before when hemming some curtains I made a few years ago and I thought, why not use it for a slipcover? It is tough and durable, so that is where we are.
This is literally the only things needed:
- Heat n Bond Iron-On Adhesive
- Iron
- Scissors
- Fabric (measure your cushion to know how much you’ll need. Make sure you have about a foot extra for closure overlap and an inch or two extra on the sides)

Step 1: First, I took off the cushion off the chair and then laid the fabric under the cushion to cut the fabric I needed (because I had 5 yds of it) and figure out the best way to put it together and easiest way to get the cushion inside. Note: I left an extra inch on each of the sides for the iron-on adhesive.

I decided the opening would be in the middle of the back so I could get half in at a time. So like an envelope pillowcase or pillow sham.
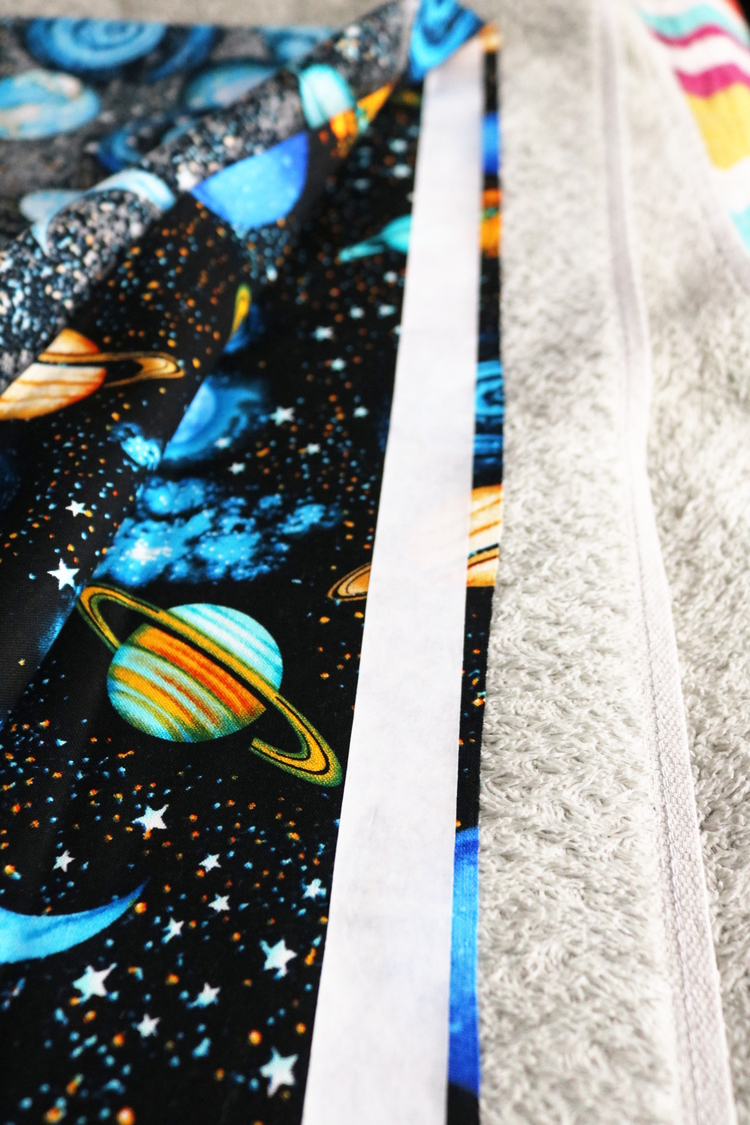
Step 2: I laid my fabric exactly as it would look inside out. I then, placed my iron-on adhesive, paper side up, on the edges to hem the opening. First, I pre-ironed the hemming line so that it would create a crease and it makes it easier to know where to put your adhesive tape.

Then, cut adhesive to the size of the opening and then iron it on over the paper backing.

Let it cool for a minute, remove paper backing and then lay the fabric over the adhesive and iron over it to complete the hem of the opening. Repeat on the other side of opening.

Full disclosure, I totally forgot to add ties and I will go back to it at some point. If you need ties, cut them out of your leftover fabric or use ribbon (which I’ll be using) and adhesive-iron those to where you want them prior to starting on the next step.
Step 3: I placed adhesive on the outer edges between the front and back layers as close to the edge as possible. Then ironed the adhesive on to the bottom, let cool and remove paper backing. Lay the top layer on the adhesive and iron over to complete bonding.
Step 4: Lastly, simply make sure all your adhesive is completely cooled and turn your slipcover right side out. Ps. My back opening looks like this because I had to pre-‘stitch’ two pieces together because the fabric I used was cut into two sections and one piece wasn’t long enough to cover the whole cushion.

Look how great and clean the seams look!

Voila, slipcover complete! Now just stick your cushion inside.

I loved making this because it is very unique and super easy to put together!
To see the rest of this makeover, check out DIY: Glider Chair and Ottoman Makeover.
Do you love no-sew as much as I do? Are you doing this or what?! Haha. Let me know in the comments!


 2018 @ Little Conquest
 2018 @ Little Conquest
Leave a Reply
Want to join the discussion?Feel free to contribute!